Countless hours spent scouring Craigslist.
Too many visits to thrift stores, yard sales and flea markets to tally!
Always searching. Fruitless.
My mission was simple.
I needed chairs.
2, 3 or even 4 of them.
But not just any chairs.
I needed chairs on wheels.
I needed chairs that swivel.
And I preferred old to new.
(Swivel and on wheels were non negotiables for us. We have had way too much fun rolling around in these chairs!)
Further, I needed them for a breakfast bar. But to complicate things further, they were not bar height. They were the height of a normal dining table. Therefore I needed dining chairs.
I spent years and years on this quest.
4 to be exact.
Oh, don’t get me wrong, I have stumbled across them on numerous occasion. Ebay. Etsy. Etc…They were either too pricey ($250 bucks!) or the wrong color, or had wheels but didn’t swivel. Or swiveled and didn’t have wheels.
I could buy new for about $150. PER CHAIR.
I felt for SURE we would find what we needed so I was unwilling to compromise.
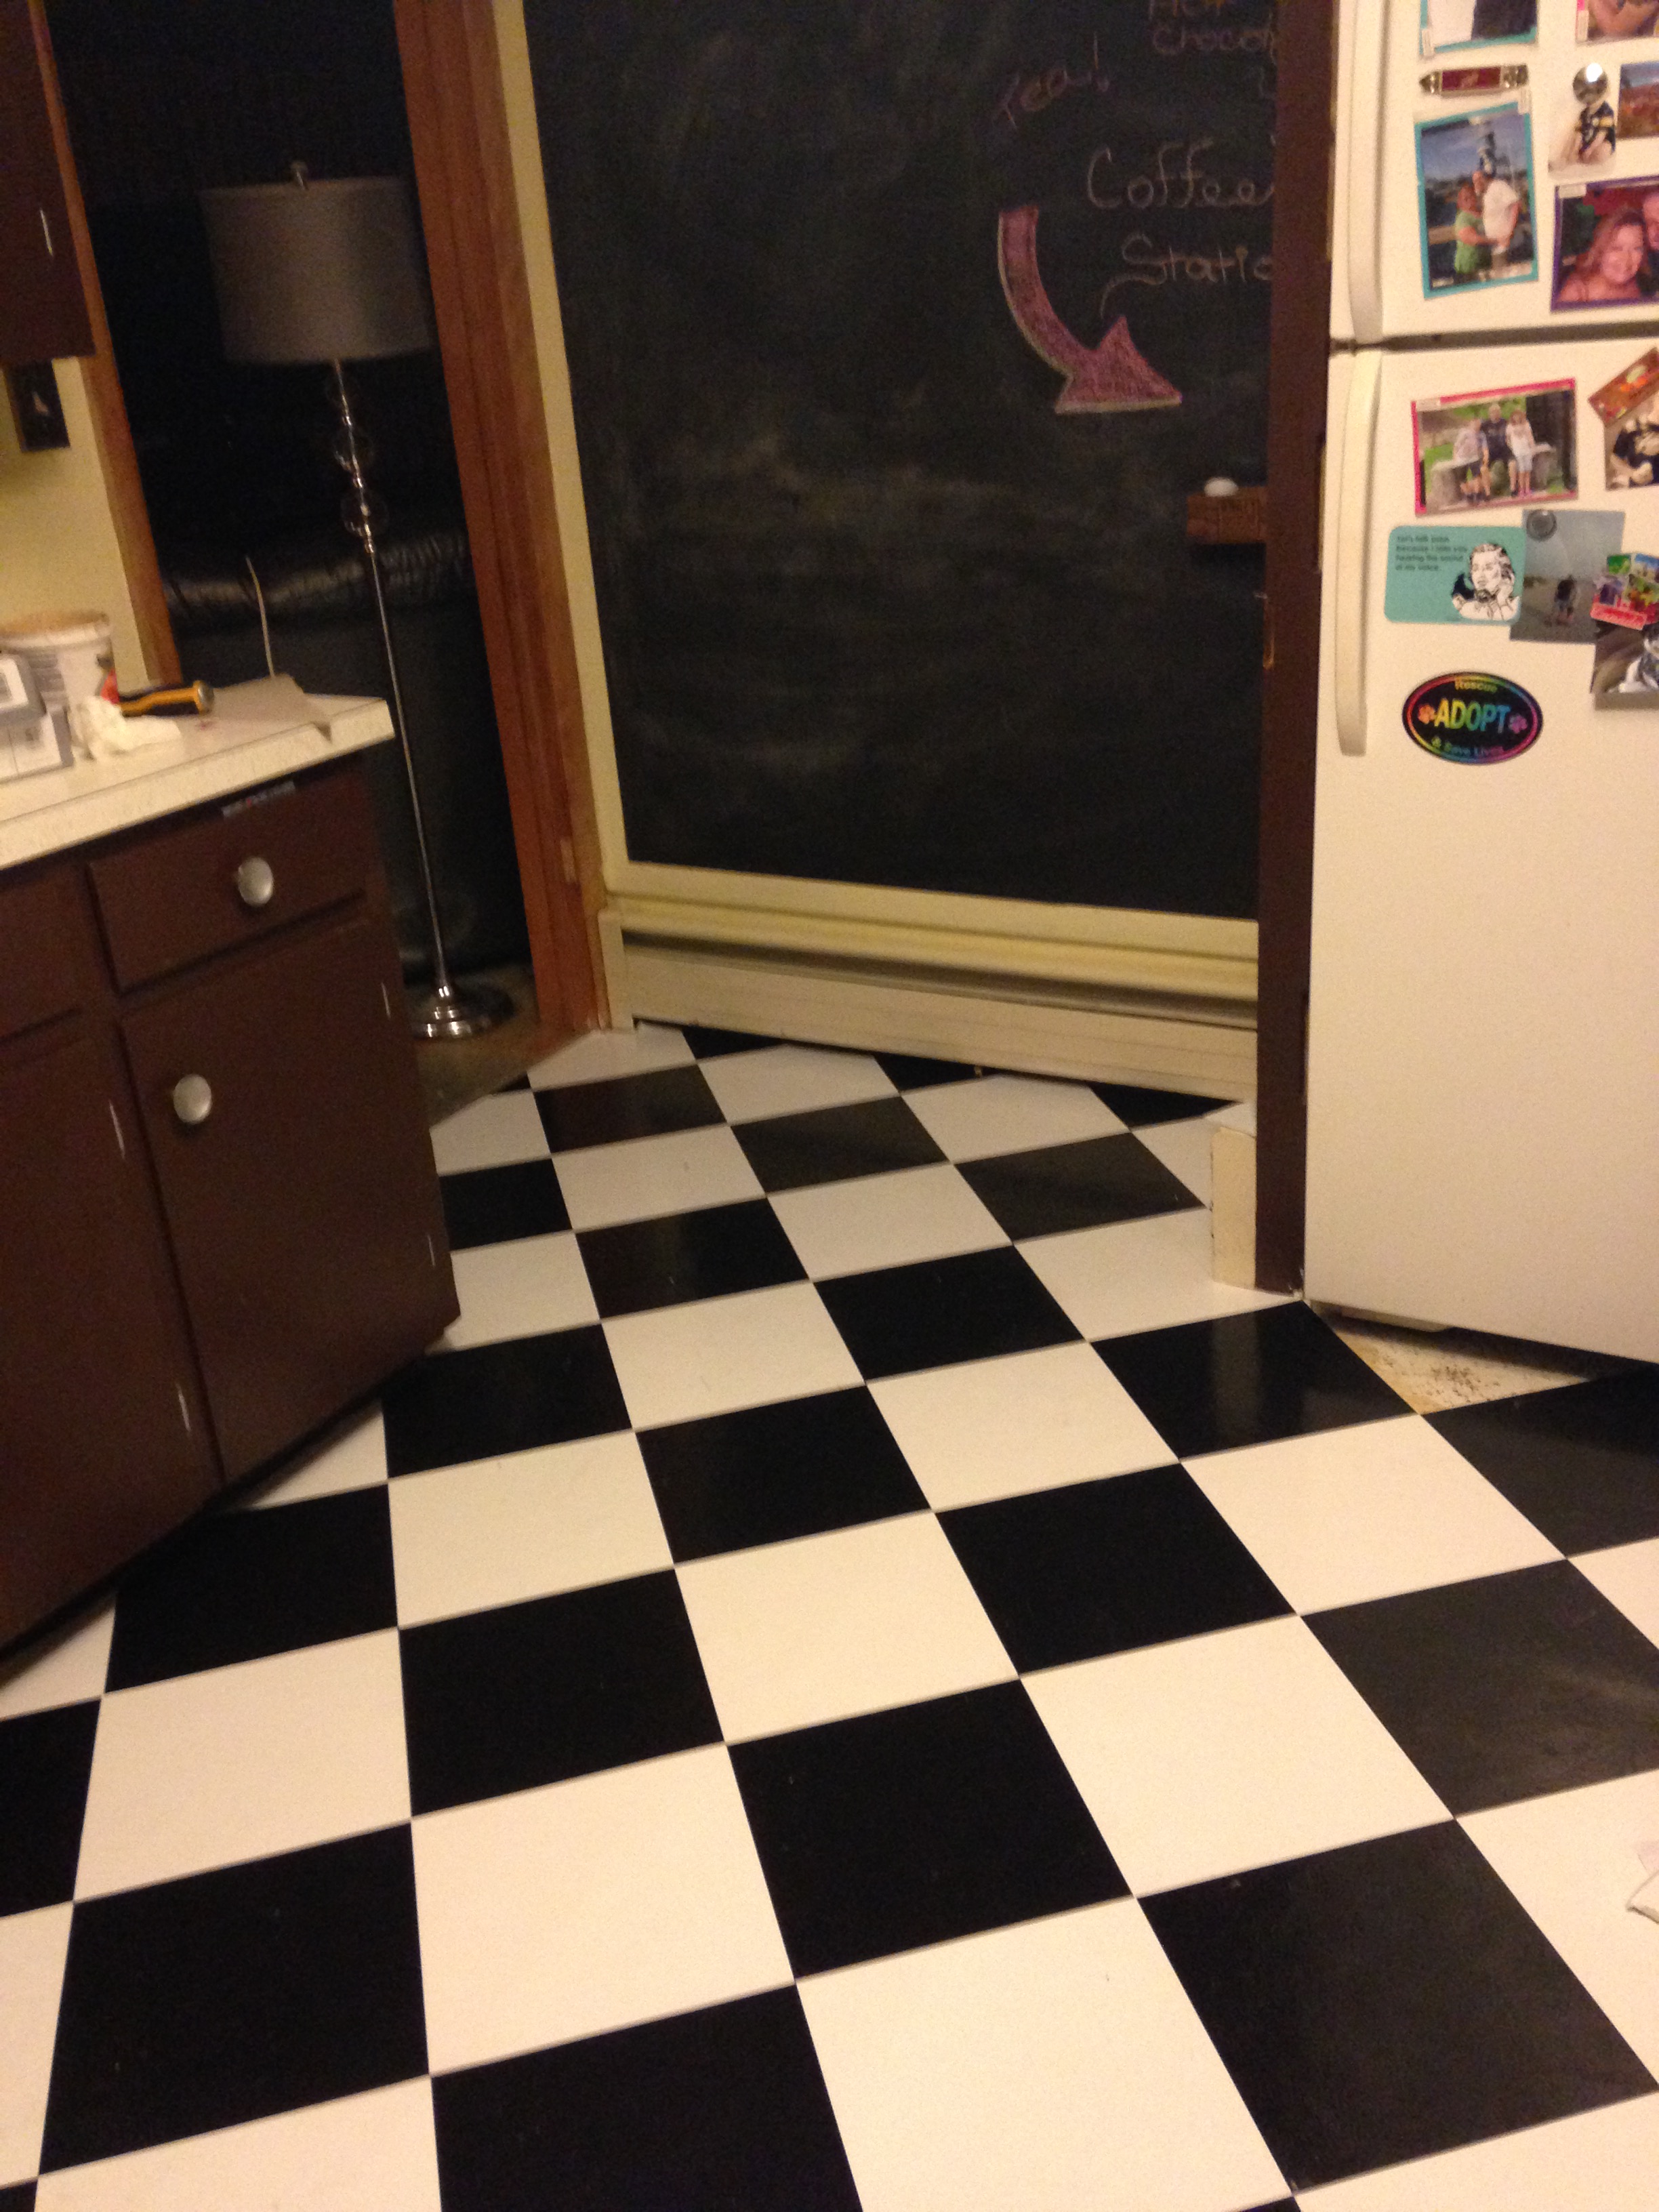
You see, our house came with two of these chairs. At the time we thought nothing of it. But over the course of our first year here we quickly realized how much we used this eating area. It truly is the heartbeat of our home. EVERYONE sits here. We have three other dining areas in this house. But we use this bar MOST of the time.
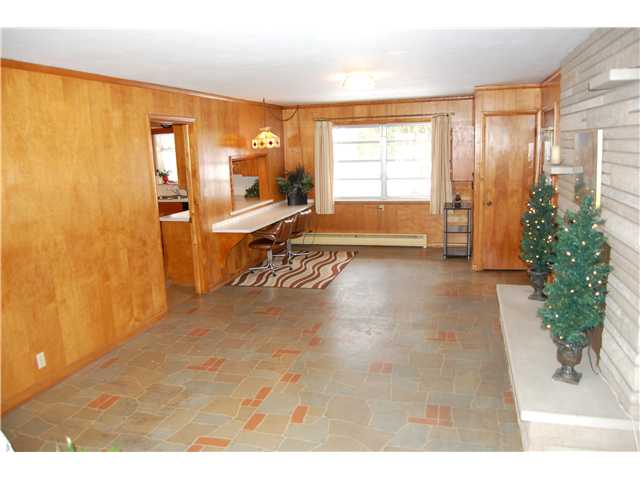
Breakfast bar with chairs from original walk through
Parties. Dinners. Homework.
Always at the bar.
When we entertain folks sit there to look into the kitchen. I have to add extra chairs from the dining room or folding chairs so the bar can seat 4 or 5 people.
My husband and I have had more than a dozen heart to hearts while sitting at this bar.
It is the hub of our home.
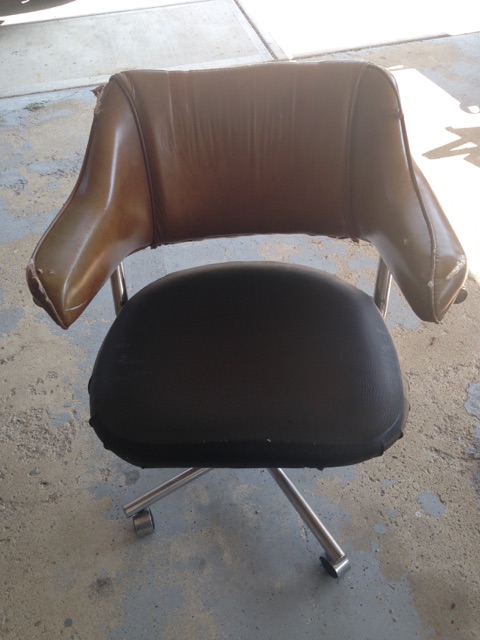
By year two in our house these two chairs were incredibly beat up. Ripped. Screws falling out. I tried a half-hearted attempt to recover them. It was awful. Nor was I willing to pay to have it professionally done.

Clearly upholstery is not my thing.
So I searched. All the time. Because I knew these two chairs were slowly dying.
We found a set once. For a great price. But we had no way to get them home. Biggest regret ever! (Note to self, when you see it, buy it) I should have rented a truck!
So we kept searching.
And then, last week, not more than one mile from my home we came across an ad for an Estate Sale. We went. And we found two bar stools. That swivel.
NOT at all what I was looking for, but in my head, I though I could use them still.
$2.00 a piece. I couldn’t pass it up. Even if I didn’t ever use them, they were worth $4 easily.
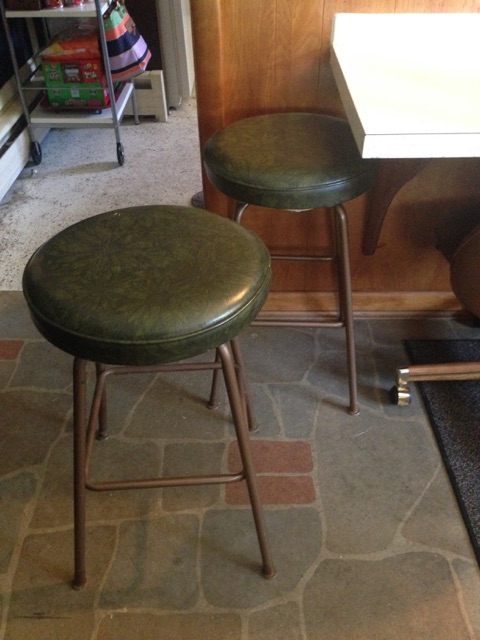
I kinda loved them and I loved how they fit UNDER the bar when not in use. So this was my solution to not having to add extra chairs when we entertained.
Then the craziest thing happened.
The very next day I was running around and just happened to go by the estate sale house again. We had already gone through it the day before and found nothing of interest beyond the two bar stools.
I look over and there are two sets of 1970’s ish tables and chairs. And I can see there are wheels!
I make a sharp right turn into the driveway.
I bolt over to the table and chairs. Asking price was $25 for table and four chairs.
Send a quick pick to the husband.
He says buy.
I was on the fence.
I didn’t LOVE them. They didn’t have arms like my other ones.
They had GOLD trim instead of CHROME.
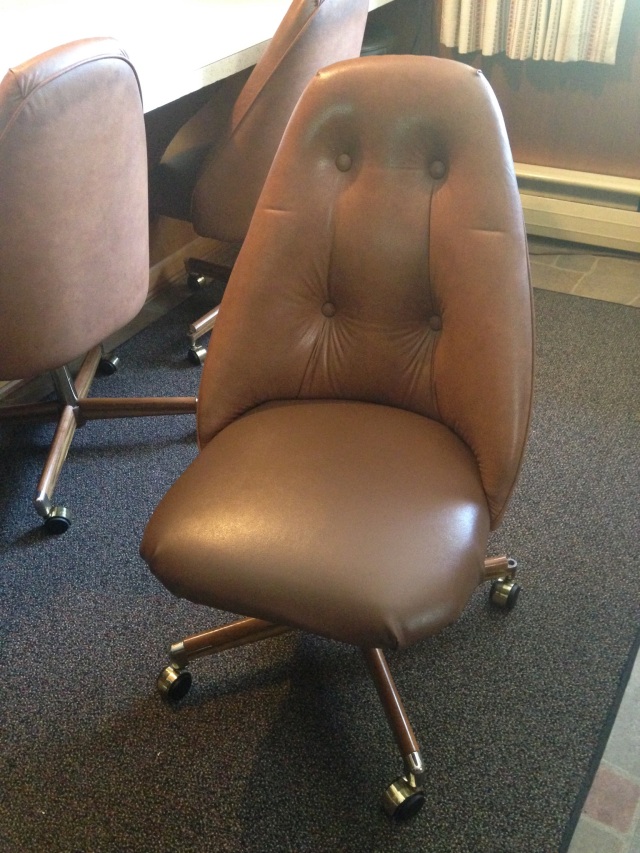
They weren’t exactly what I wanted.
But.
I had searched for 4 years!
They were in great shape and fit the profile better than anything else in my 4 year quest.
Ran home to get the husband and he did the negotiating. We didn’t need the table at all. I had $16 on me cash. They took it. Chairs only, no table. Found out they weren’t there the day before because they belonged to a neighbor who just wanted to get rid of them.
Talk about being in the right place at the right time!!!
So, even though I didn’t love them I simply couldn’t walk away from that bargain.
I can still continue my search, but now I have four chairs that work plus two bar stools.
Will keep the fourth chair as a back up. I can also spray paint the bottoms and make them chrome.
But for now, for just $18, my treasure hunt is complete. Kinda!
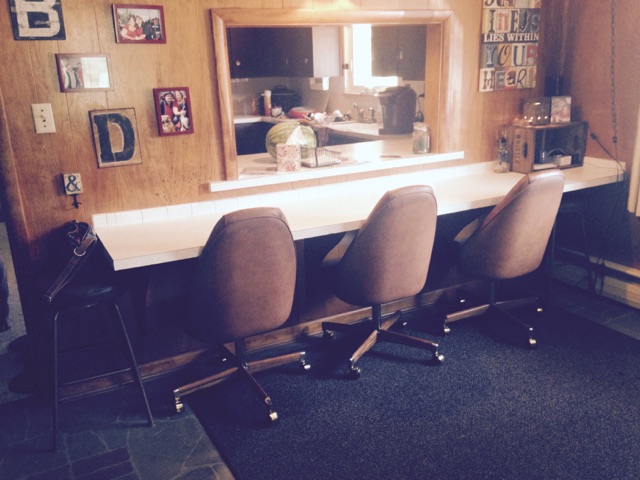
 Seating for 5 and everyone can swivel and roll to their heart’s delight!!!
The moral of the story? Never give up the search!